David Resurface was founded with a simple mission: to provide exceptional pool remodeling and resurfacing services that customers can truly rely on. We understand that owning a pool in Phoenix is a unique challenge compared to anywhere else in the country.
The harsh desert sun and aggressive hard water wage a constant war on your investment. You might have noticed that even high-quality finishes can start to look tired years before their warranty expires.
We see this happen every day. The difference between a pool resurfacing finish that fails in seven years and one that lasts twenty usually comes down to five specific habits.
Here are 5 ways to extend the life of your pool surface that go beyond basic cleaning.
1. Master the Langelier Saturation Index (LSI)
Most homeowners focus solely on pH and chlorine. We have found that balancing these individual numbers is often not enough to prevent surface etching.
The Langelier Saturation Index (LSI) is the true measure of water balance. It calculates the relationship between pH, alkalinity, calcium hardness, water temperature, and total dissolved solids (TDS).
Why LSI is Critical
- Aggressive Water: If your LSI is negative (below -0.30), the water is hungry for calcium. It will eat away at your plaster or pebble finish to find it.
- Scale Forming: If your LSI is positive (above +0.30), the water deposits calcium on your walls and tiles. This creates rough surfaces that snag swimsuits and skin.
The Phoenix Hard Water Reality
Our local water supply poses a massive hurdle for pool owners. The City of Phoenix reports average water hardness levels ranging from 12 to 17 grains per gallon.
This means your fill water is already loaded with minerals before you add a single chemical.
How to Manage It:
| Parameter | Standard Target | Phoenix Reality | Action Required |
|---|---|---|---|
| pH | 7.2 - 7.6 | Drifts High (8.0+) | Add muriatic acid weekly. |
| Calcium | 200 - 400 ppm | Often 800+ ppm | Drain and refill every 2-3 years. |
| Alkalinity | 80 - 120 ppm | fluctuations common | Buffer with sodium bicarbonate. |
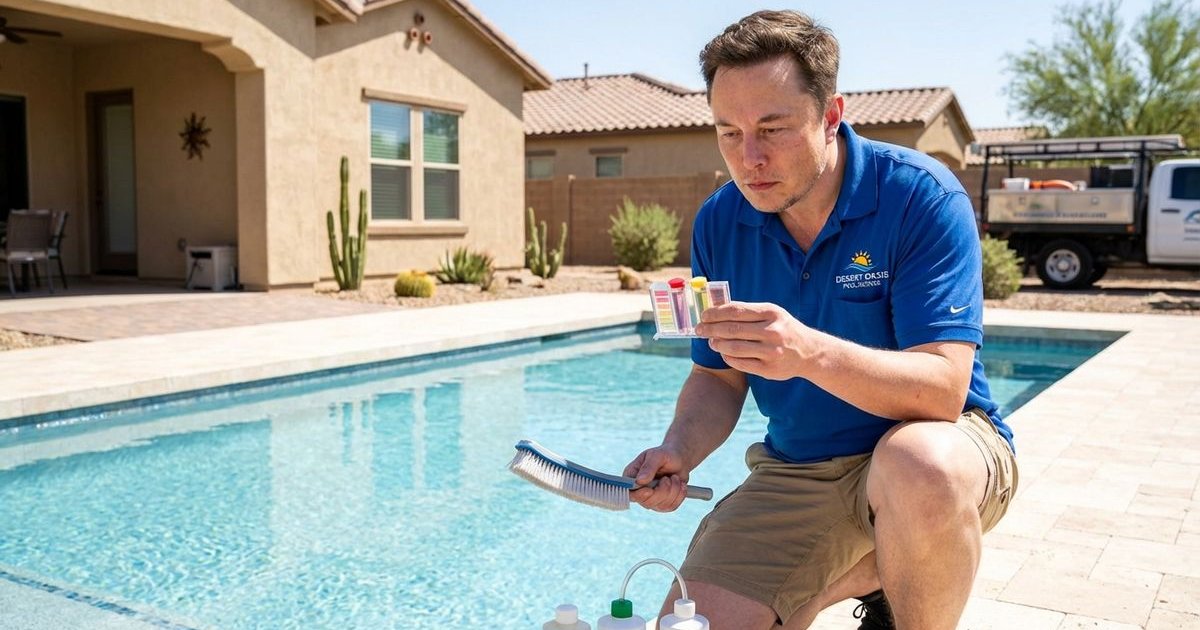
Upgrade Your Testing Game
Paper strips are simply not accurate enough for this climate. We recommend using a drop-test kit like the Taylor K-2006 to get precise readings.
Accuracy saves you money on chemicals and prevents expensive surface repairs.
2. Brush to Remove Biofilm
Many people think brushing is only for removing visible dirt. We know that the real enemy is something you often cannot see until it is too late.
Biofilm is a microscopic, protective layer that bacteria build over themselves. It acts as a shield against chlorine.
The Science of Surface Protection
- Biofilm Disruption: Regular brushing breaks this shield.
- Chlorine Efficiency: Once the shield is broken, your chlorine can kill the bacteria instantly.
- Stain Prevention: Brushing removes organic debris before it can settle and tan the plaster.
Choosing the Right Tool
Using the wrong brush can actually damage your finish.
- For Plaster: Use a combination of nylon and stainless steel bristles.
- For Pebble/Aggregate: A stiff nylon brush is essential to get into the crevices.
- For Vinyl/Fiberglass: Stick to soft nylon only to avoid scratching.
Pro Tip: Pay special attention to the “dead spots” where water circulation is poor, such as behind ladders and on steps. These are the first places black algae will anchor itself.
3. Identify and Treat Stains with Precision
Stains are a symptom of a chemical imbalance or foreign contaminants. We advise against guessing what a stain is and dumping random chemicals into the water.
Misdiagnosing a stain can lead to treatments that make the problem permanently worse.
The Vitamin C Test
You can determine the nature of a stain with a simple Vitamin C tablet. Hold a Vitamin C tablet directly against the stained area for 30 seconds.
- If the stain lightens or disappears: It is likely a metal stain (iron or copper). You need a metal sequestrant.
- If nothing happens: It is likely organic (leaves, berries, algae) or hydration hydration (trapped moisture). You likely need shock and brushing.
Common Arizona Surface Enemies
Iron and Copper: These metals enter your pool through fill water or corroding heater exchangers.
- Fix: Use a sequestering agent like Jack’s Magic or Orenda SC-1000.
Calcium Nodules: These look like little white volcanoes popping out of the plaster.
- Fix: These indicate delamination or void behind the plaster. Do not pick at them. Call a professional.
Organic Decay: Tan or brown shadows on the floor.
- Fix: Elevate chlorine levels and brush daily for a week.
4. Mitigate Sun Damage and Evaporation
The Arizona sun acts like a laser beam on your pool’s top twelve inches. We see the most rapid deterioration on the “bond beam” or the tile line where the water meets the air.
Thermal expansion and contraction can cause the surface to crack and separate from the underlying shell.
Managing the Waterline
Keep your water level consistent. When the water level drops, the plaster is exposed to dry air and direct UV rays.
Plaster is designed to be submerged. When it dries out repeatedly, it becomes brittle and flakes off.
The Impact of Cyanuric Acid (CYA)
Cyanuric acid acts as sunscreen for your chlorine. In Phoenix, the intense UV index destroys unstabilized chlorine in a matter of hours.
However, CYA does not evaporate. As your water evaporates (at a rate of about 6 to 8 feet per year in Phoenix) and you refill it, the CYA concentration climbs.
The Danger Zone: When CYA levels exceed 100 ppm, it locks up your chlorine, rendering it ineffective. This leads to algae blooms that require harsh treatments, which in turn damage your surface.
Solution: Test CYA monthly. If it is too high, partially drain and refill the pool.
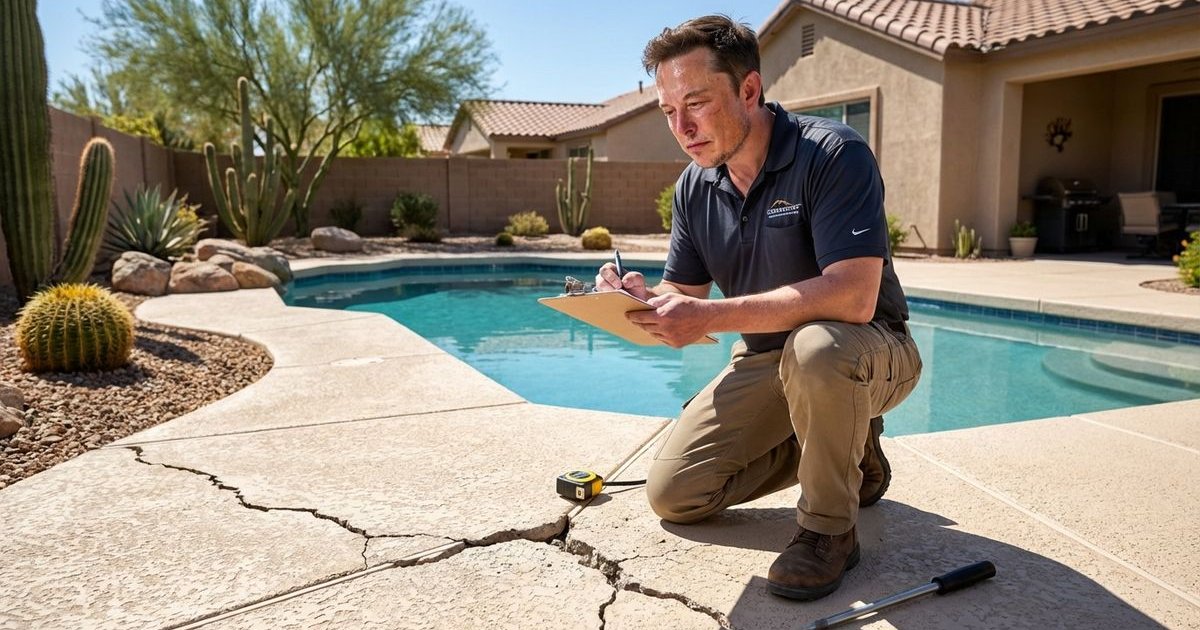
5. Invest in Strategic Professional Care
Some maintenance tasks carry risks if done incorrectly. We recommend bringing in experts for the heavy lifting to ensure your surface safety.
Professional intervention at the right time can reset the clock on your pool’s aging process.
The Truth About Acid Washes
An acid wash removes a thin layer of plaster to reveal fresh, bright material underneath. It makes the pool look brand new.
The Warning: You only have a limited amount of plaster thickness. An aggressive acid wash can strip away too much material, leaving the surface rough and exposing the gunite beneath.
We suggest acid washing no more than once every 5 to 7 years for plaster pools. Pebble finishes are more durable and can handle it more frequently, but moderation is still key.
Equipment Audits Preserve Surfaces
Your pump and filter are the heart and kidneys of the pool. If they are not functioning correctly, the water becomes stagnant and acidic.
Annual Checklist for Longevity:
- Clean Filter Elements: A dirty filter restricts flow, preventing chemicals from mixing properly.
- Check Salt Cells: If you have a salt pool, calcium buildup on the cell can flake off and land on your pool floor.
- Inspect Auto-Fill: Ensure it is not stuck on, which would dilute your chemistry constantly.
The Bottom Line: Costs and Longevity
Extending the life of your pool surface is a numbers game.
| Strategy | Cost | Potential Life Extension |
|---|---|---|
| Neglect | $0 upfront | Surface failure in 5-7 years |
| Weekly DIY Testing | $20/month | Adds 2-3 years |
| LSI Balancing & Sequestrants | $40/month | Adds 5-7 years |
| Timely Professional Maint. | $300/year | Adds 8-10 years |
Investing roughly $500 to $800 a year in proper chemistry and minor professional services can delay a $10,000+ resurfacing project by a decade.
We believe that calculation makes the effort worth it.
Ready to Protect Your Pool?
You do not have to figure out the complex chemistry of Phoenix water on your own. Proper maintenance today ensures your backyard remains a beautiful oasis rather than a financial burden.
Need help getting your pool chemistry under control or assessing your current surface condition? Contact us or call (602) 619-1234 for a free consultation.