Is your pool losing water faster than it should?
You know that sinking feeling when you walk out to the patio and see the water level has dropped inches in just a couple of days. We see this constantly with older pools in Phoenix, especially during the transition between spring and our scorching summers. It is often hard to tell if the dry Arizona air is drinking your water or if a structural repair issue is to blame.
David Resurface was founded with a simple mission: to provide exceptional pool remodeling and resurfacing services that customers can truly rely on. From what we have seen in the field, panic often leads homeowners to premature conclusions. A dropped water level doesn’t always mean a catastrophe is looming under your deck.
We are going to walk you through the specific signs of a leak, how to test for it yourself using a common household item, and the exact repair methods that work best for our local climate.
Normal Water Loss vs. Leaks
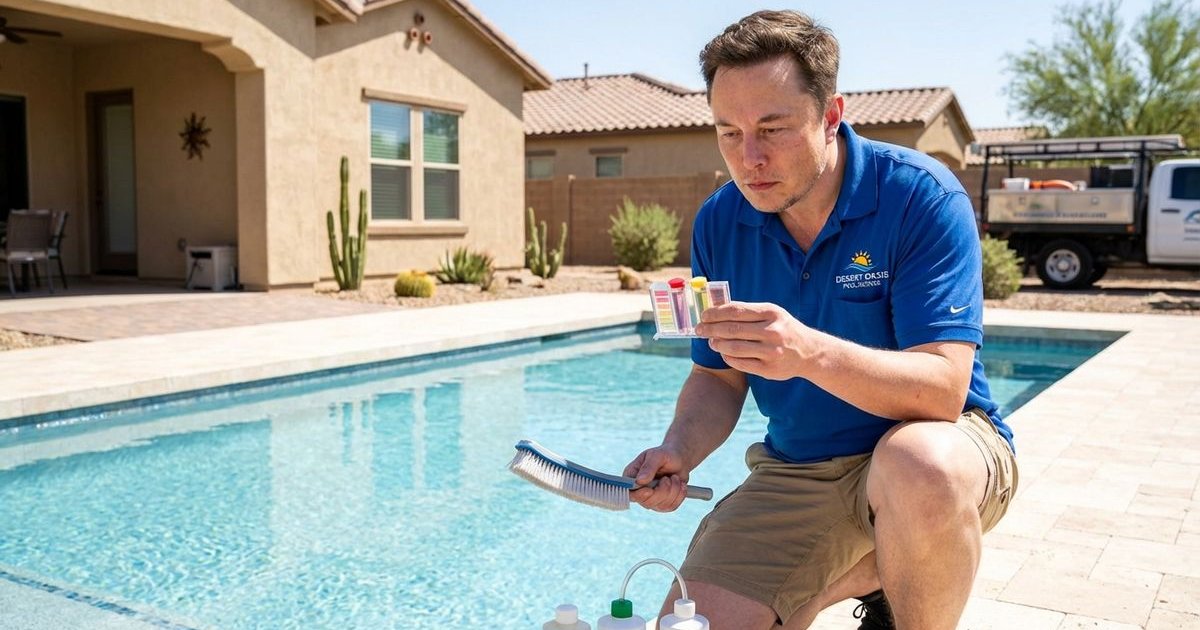
What’s Normal in Phoenix?
Evaporation is a relentless opponent in the desert. A standard 400-square-foot pool in the Valley can lose roughly 25,000 gallons of water a year purely to the sun.
We categorize “normal” loss based on the season and local humidity levels. You can generally expect the following evaporation rates:
- Summer: 1/4 inch to 1/2 inch per day (approx. 2-4 inches per week)
- Winter: 1/8 inch to 1/4 inch per day
- Monsoon Season: High winds can double daily evaporation rates
- Heated Pools: A significant temperature difference between the water and air accelerates loss
When to Suspect a Leak
A leak usually presents itself with more aggressive symptoms than just a low water line. You should investigate further if you notice any of these red flags:
- Daily Loss: The pool drops more than 1/2 inch in 24 hours
- Equipment Strain: Your autofill runs non-stop without a break
- Utility Spikes: A 2025 analysis of local utility rates shows a hidden leak can add $50 to $100 monthly to water bills
- Saturated Soil: Wet spots appear in the yard or planters that never dry out
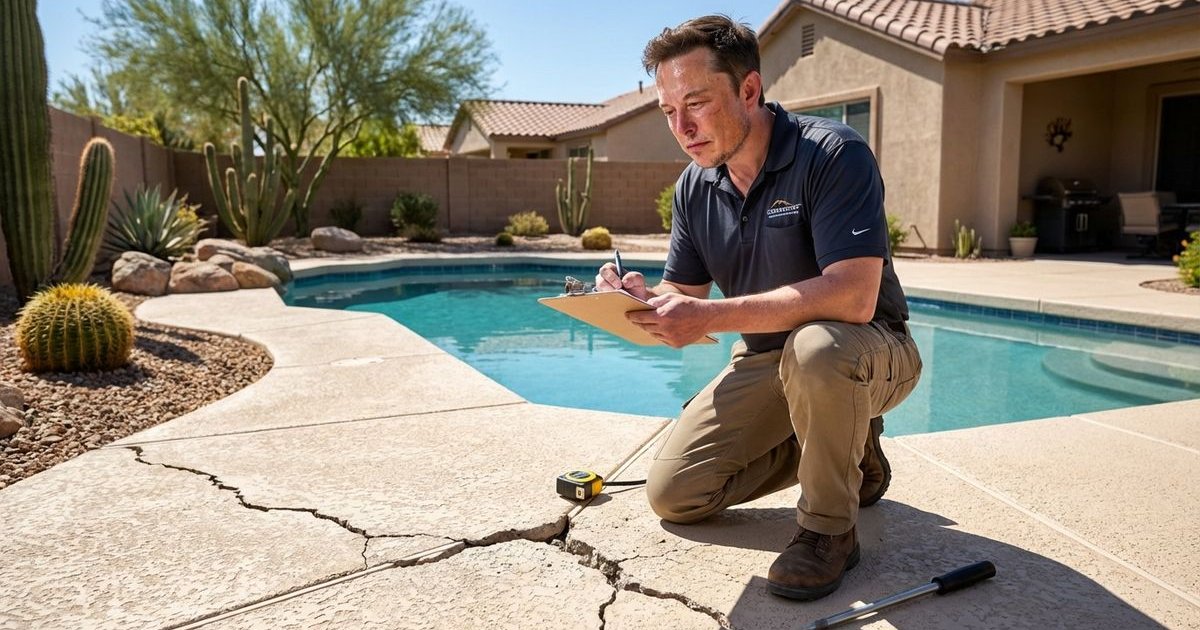
- Structural Shifts: The pool deck sinks or cracks due to soil erosion
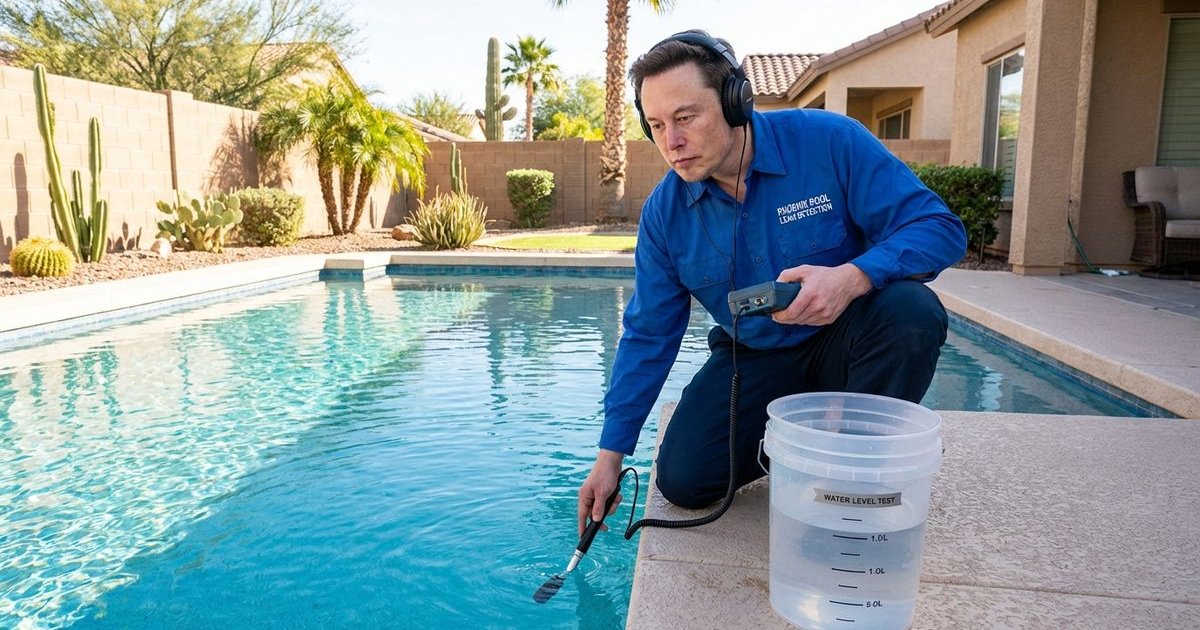
The Bucket Test
The “Bucket Test” remains the gold standard for homeowners. It controls for evaporation variables like wind and humidity to give you a clear answer.
Instructions
We recommend performing this test over a 24-hour period where no swimming occurs. Follow these precise steps:
- Fill the Bucket: Take a standard 5-gallon plastic bucket and fill it with pool water.
- Position It: Place the bucket on the second step of the pool so it is partially submerged.
- Match Levels: Fill the bucket until the water level inside matches the pool water level outside.
- Mark It: Use a piece of electrical tape or a grease pencil to mark the water line on the inside and outside of the bucket.
- Isolate: Turn off the pump and any autofill devices to ensure a static environment.
- Wait: Leave the setup undisturbed for exactly 24 hours.
Interpreting Results
Compare the two water levels after the waiting period. Use this table to understand what your results mean:
| Result Scenario | Diagnosis | Action Required |
|---|---|---|
| Levels dropped equally | Evaporation | No action needed. This is normal loss. |
| Pool dropped more | Active Leak | Perform dye test or call a pro. |
| Bucket dropped more | Invalid Test | Usually means water splashed out or animals drank from it. Retest. |
Repeat Test for Plumbing Isolation
You can narrow down the location by running the test twice. We suggest running the first 24-hour test with the pump off, and a second 24-hour test with the pump on. If the pool loses significantly more water when the pump is running, the leak is likely in the return plumbing rather than the shell itself.
Common Leak Locations
Pool Shell and Fittings
The interface between plastic fittings and the concrete shell is the most vulnerable point in any pool. We find that nearly 30% of structural leaks originate at the skimmer throat.
Look closely at these specific components:
- Skimmer: Check for hairline cracks in the plastic body or separation where the plastic meets the gunite.
- Main Drain: Hydrostatic pressure can damage the seal around the drain pot at the deepest point of the pool.
- Return Lines: The fittings where water jets back into the pool often develop gasket failures after years of chlorine exposure.
- Light Niche: The conduit that carries the power cord to the light is a common escape route for water.
- Structural Cracks: Keep an eye on stress points like corners or steps for cracks that run deeper than the plaster layer.
Plumbing Network
Underground leaks are trickier because they are invisible from the surface. We usually identify these issues in three specific zones:
- Suction Side: The pipes pulling water from the skimmer/drain to the pump (leaks here often suck air in rather than pushing water out).
- Pressure Side: The pipes pushing water from the pump back to the pool (leaks here are usually rapid).
- Equipment Pad: Check the concrete pad for moisture rings around the pump seal or filter clamp.
DIY Leak Finding
Visual Inspection
Start your search with a slow, deliberate walk around the perimeter. You are looking for:
- Algae Growth: Green patches on the exterior of the pool wall or deck often signal moisture seepage.
- Erosion: Small sinkholes or washed-out dirt near the equipment pad.
- Grout Failure: Missing grout around the tile line where the skimmer sits.
Dye Testing
This method allows you to visually track water movement. We use professional syringe kits, but you can purchase a “Leakmaster” dye tester or use dark food coloring.
Follow this procedure:
- Turn off the pool pump completely and let the water become still.
- Squirt a small cloud of dye within 2 inches of a suspected crack or fitting.
- Watch the dye cloud; if it stays suspended, there is no leak.
- Observe if the dye is sucked into the crack or fitting like smoke into a vacuum.
Priority areas to test:
- Around the perimeter of the light fixture
- The transition line inside the skimmer mouth
- Any visible cracks in the steps or bench
When to Call a Professional
Some leaks are simply too complex or deep for a DIY fix. We advise bringing in experts when you encounter situations that threaten the pool’s structure.
Consider professional help if:
- The Bucket Test Failed: You confirmed a leak but cannot find the source with dye.
- Plumbing is Suspect: The leak speeds up when the pump is on (indicating a pressurized pipe issue).
- Structural Risks: You see large cracks (over 1/8 inch wide) that may compromise the shell’s integrity.
- Real Estate Transactions: You are buying a home and need a certified pressure test report.
What Professionals Can Find
Specialized teams use technology that sees what the human eye cannot. Our industry partners utilize:
- Ultrasonic Microphones: To hear the specific frequency of water escaping a pipe under 4 feet of concrete.
- Helium Testing: To “sniff” out gases injected into empty lines to pinpoint breaks.
- Static Pressure Testing: To confirm exactly which line (skimmer, main drain, or return) is compromised.
Professional Leak Detection Methods
Pressure Testing
This is the cardiac stress test for your pool’s plumbing. Technicians plug both ends of a pipe run and induce air or water pressure. If the gauge drops, the pipe has a breach.
Electronic Listening (Geophones)
Think of this as a doctor’s stethoscope for concrete. We use ground microphones to listen for the sound of water hammering against soil or rock, which helps locate leaks under pool decks without drilling unnecessary holes.
Dive Inspection
Sometimes, you have to get in the water. Certified divers use specific dye colors and magnification tools to inspect the main drain and light niches up close.
Pipe Cameras
Miniature cameras are snaked through the plumbing lines. This visual verification can spot tree root intrusion or crushed pipes caused by shifting soil.
Leak Repair Options
Shell Repairs
The method of repair depends entirely on the severity of the crack. We prioritize structural stability over cosmetic patches.
- Minor Surface Cracks: Solved with underwater epoxy or hydraulic cement ($200-$600).
- Structural Cracks: Requires “Torque Lock” staples or carbon fiber stitches to physically hold the shell together ($800-$2,000).
- Skimmer Replacement: Involves cutting the deck to replace the entire plastic unit ($1,500-$3,000).
Plumbing Repairs
Underground fixes are labor-intensive but necessary. Current 2025 pricing trends in Phoenix reflect the cost of skilled labor and excavation.
| Repair Type | Estimated Cost | Description |
|---|---|---|
| Accessible Plumbing | $250 - $600 | PVC repairs above ground at the equipment pad. |
| Underground Fix | $1,500 - $3,500 | Cutting concrete, digging, repairing pipe, and repouring deck. |
| Full Reroute | $2,500 - $5,000+ | Abandoning old lines and running new plumbing around the pool. |
Equipment Repairs
Simple mechanical leaks are often the cheapest to fix. You can usually resolve pump seal leaks or filter clamp issues for under $350, including parts and labor.
Preventing Future Leaks
Maintain Water Chemistry
Aggressive water attacks your pool’s finish. We know that low Calcium Hardness (below 200 ppm) will cause water to leach calcium directly from the grout and plaster, creating tiny leak paths over time.
Address Problems Early
Small fissures eventually become structural failures. Fixing a $50 seal today prevents a $2,000 plumbing disaster next year.
Winter Care
While Phoenix winters are mild, we do see freeze damage. If temperatures drop below 32°F, water expands in the pipes and can crack pumps and filters instantly. Run your pump during freezing nights to keep water moving.
Regular Inspection
An annual checkup is your best insurance policy. Have a pro look at your o-rings, pump seals, and grout lines once a year to catch wear before it fails.
Get Help With Your Leak
Dealing with a pool leak can feel overwhelming, but you don’t have to tackle it alone. We specialize in diagnosing the root cause and providing long-term structural repairs that stand up to the Arizona climate.
Contact us or call (602) 619-1234 for a leak assessment.