Getting your pool resurfaced is one of the most significant investments you will make in your home’s value. Professional pool resurfacing transforms a worn-out surface into a beautiful, long-lasting finish. You know that sinking feeling when you look at peeling plaster or spot a new crack, but the construction process itself often feels like a mystery.
We have spent years refining this process at David Resurface to take the guesswork out of the equation. A clear roadmap is the best way to reduce anxiety and ensure you get the beautiful, long-lasting finish your backyard deserves.
Here is the exact step-by-step breakdown of what happens during a professional pool resurfacing project.
Before We Begin: Pre-Project Preparation
Your Homeowner To-Do List
1-2 weeks before:
- Remove patio furniture, planters, and loose decor from the deck area.
- Trim back overhanging trees or bushes near the pool edge to prevent debris from falling into the wet finish later.
- Unlock side gates and ensure the path is at least 3-4 feet wide for equipment access.
- Make a plan for pets to stay indoors or at a neighbor’s house during work hours.
- Locate your main sewer cleanout (usually a 4-inch pipe with a cap in the front yard) as we often use this for draining.
Day before:
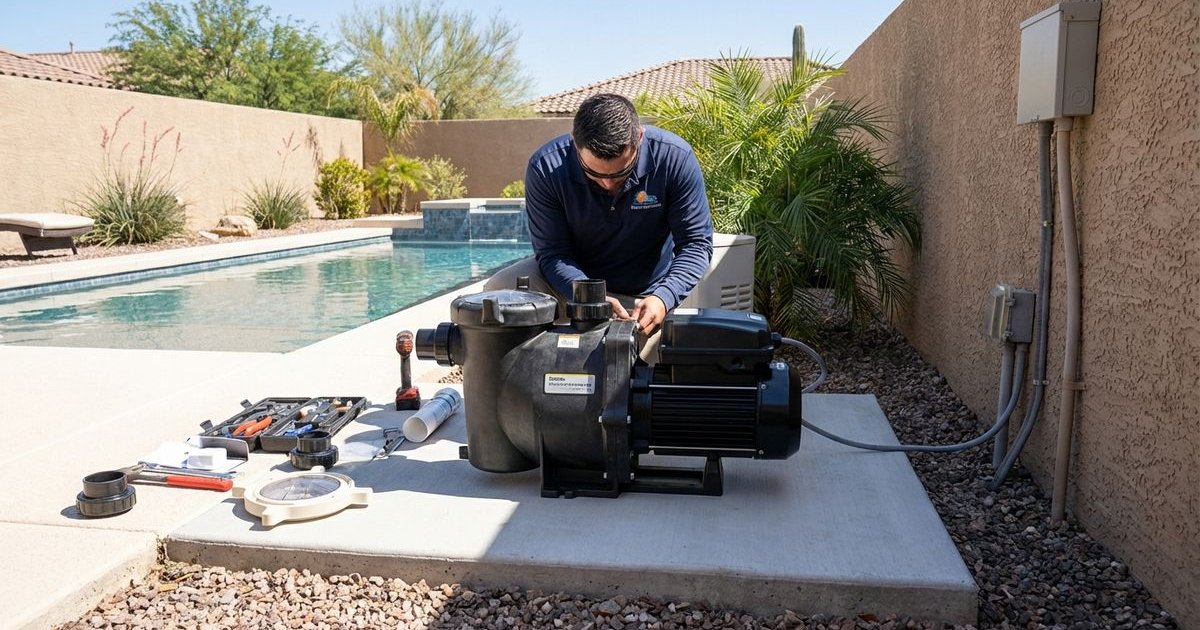
- Clear a direct path to your electrical sub-panel so we can cut power to the pool equipment.
- Turn off your automatic water leveler (autofill) to stop water from entering the pool.
- Cover any nearby window screens with plastic if we are doing a full chip-out to prevent dust accumulation.
What We Handle
Our team takes care of the technical logistics so you do not have to worry about permits or heavy lifting.
- Permitting: We secure necessary city permits for draining water into the sanitary sewer or street, depending on local Phoenix metro regulations.
- Protection: We lay down tarps or plywood to protect your decking and landscaping from heavy machinery.
- Equipment Staging: We designate a specific zone for our mixer and material pallets to keep your yard organized.
Day 1-2: Draining and Preparation
The Draining Process
We pump out the water using high-volume submersible pumps. This usually takes 6 to 12 hours depending on the size of your pool (average 15,000 to 25,000 gallons).
Critical Safety Note: Once we start draining, the process must continue until the pool is empty. An empty pool in the Arizona heat is vulnerable. The ground pressure can actually cause a pool shell to “pop” or float if groundwater is high, which is why we often open the hydrostatic relief valve immediately upon emptying.
Initial Assessment
With the water gone, the naked surface reveals the true condition of your pool shell. Hidden issues often surface at this stage:
- Hollow Spots: Areas where the old plaster has separated from the concrete gunite (delamination).
- Structural Cracks: Deep fissures that require stapling or epoxy injection, distinct from surface-level checking.
- Plumbing Leaks: We inspect the seal around returns, main drains, and skimmer throats.
We will walk you through any structural repairs needed before moving to the next phase so there are no surprise costs later.
Day 2-3: Surface Preparation
This step is the most labor-intensive part of the project. The longevity of your new interior finish depends entirely on how well it bonds to the shell.
Choosing the Right Prep Method
We use two primary methods depending on the condition of your existing surface.
| Prep Method | Best For | What It Involves | Noise Level |
|---|---|---|---|
| Bond Coat | Pools with solid existing plaster and minimal layering. | We apply a specialized bonding cement that acts like “double-sided tape” for the new finish. | Moderate |
| Chip-Out | Pools with delamination, multiple old layers, or painted surfaces. | We use pneumatic hammers to remove the old material down to the original gunite shell. | High (100+ dB) |
The Chip-Out Experience
If your pool requires a chip-out, prepare for a noisy day.
- Noise: It sounds like a jackhammer operating in your backyard.
- Dust: While we water down the surface to minimize it, some dust is inevitable.
- Debris: We haul away tons of concrete rubble, leaving the shell rough and ready for the new bond.
Day 3-4: Tile and Masonry Work
If you are upgrading your waterline tile, we perform this installation after the heavy demolition is complete but before the final finish.
Installation Steps
- Removal: We carefully chisel off the old tile and remove the mortar bed.
- Waterproofing: We apply a hydraulic cement layer to seal the beam behind the tile.
- Setting: New tile is set using high-grade modified thinset.
- Grouting: We apply grout and clean the tile face.
Pro Tip: We highly recommend using glass tile or high-quality porcelain for Phoenix pools. Calcium buildup (scale) is easier to clean off these smooth surfaces compared to porous natural stone.
Timeline: This phase typically requires 24 to 48 hours for the materials to set properly before they can be submerged.
Day 4-5: New Finish Application
This is the transformation day. Whether you chose a quartz aggregate, Mini Pebble, or a premium Pebble Tec finish, the application happens fast.
The Application Workflow
Morning (Start time: 6:00 AM - 7:00 AM):
- Our crew arrives early to beat the peak afternoon heat, which can dry the plaster too quickly.
- The mixing rig is set up on the street or driveway.
- Hoses run from the mixer to the pool.
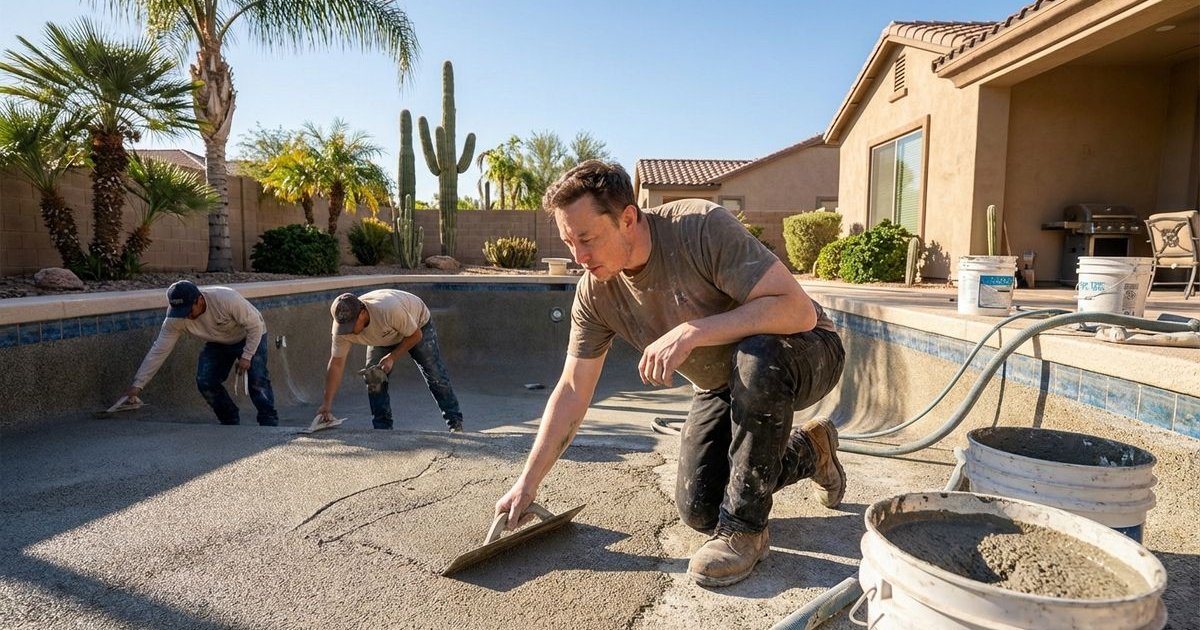
Mid-Day Execution:
- A team of 5-8 artisans works in unison.
- Some shoot the material through a nozzle, while others hand-trowel it to a smooth, watertight finish.
- We wear spiked shoes to walk on the wet material without leaving indentations.
Why Continuous Work is Mandatory: We cannot stop for lunch or breaks once the plastering begins. A “cold joint” occurs if wet plaster meets dry plaster, creating a permanent visible seam and a weak point in the surface.
Day 5-6: Initial Fill and Curing
Filling the Pool
As soon as the finish is troweled and the crew exits, we start the water. This is the single most critical instruction we give you.
- Do not stop the water. If you turn off the hose for even 30 minutes, a “bathtub ring” can form permanently on the curing surface.
- Use a clean rag. We wrap a clean towel or sock around the hose end to diffuse the water flow and prevent it from gouging the soft bottom.
- Watch the level. Stop the water only when it reaches the middle of the waterline tile skimmer opening.
The First 48 Hours
The new material is still soft and curing underwater.
- No Swimmers: Keep people and pets out of the water.
- No Heater: Do not turn on the pool heater for at least 21 days to prevent staining from combustion byproducts.
- No Wheeled Cleaners: Keep robotic cleaners or vacuums out of the pool to avoid wheel tracks.
Week 1: The Start-Up Process (NPC Standards)
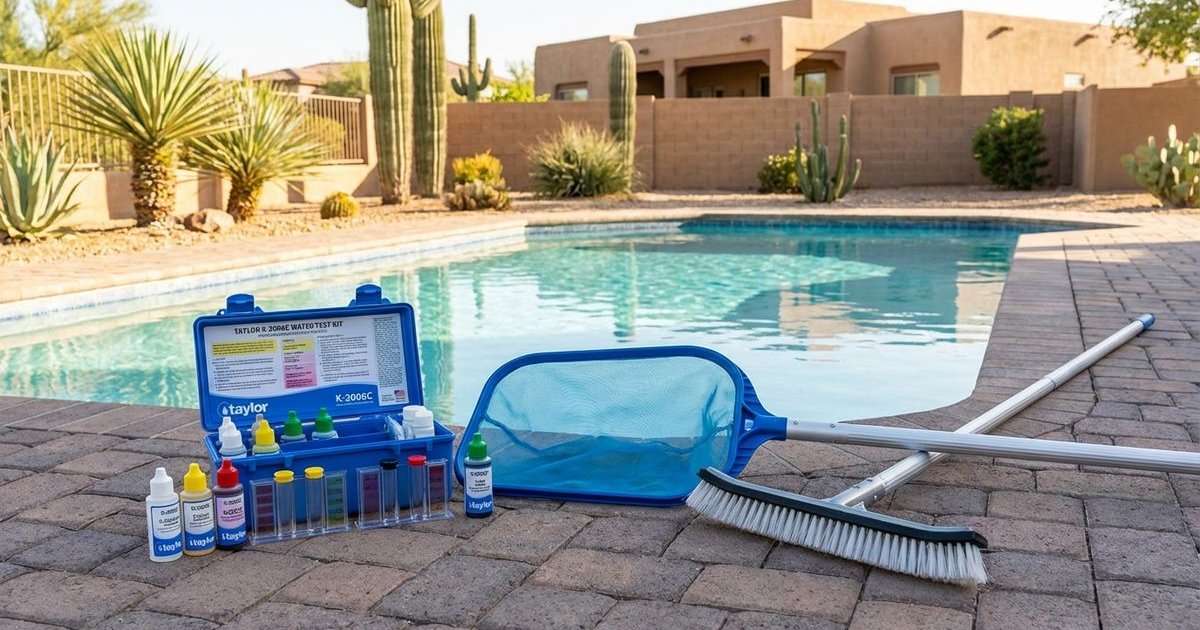
Day 6-7: Chemical Balancing
Once the pool is full, we return to start the equipment and add the initial chemicals. This is known as the “Start-Up,” following National Plasterers Council (NPC) guidelines.
- Circulation: We turn on the filter pump to run 24 hours a day for the first week.
- Sequestrant Agent: We add a metal sequestrant to prevent minerals in the tap water from staining the fresh plaster.
- Acid Demand: New plaster drives pH levels very high (often above 8.0). We add muriatic acid to bring it down to the 7.2-7.4 range.
Your Critical Task: Brushing
You play a vital role in the quality of the final texture.
- Brush twice a day. Use a nylon pool brush (not stainless steel) on the walls and floor.
- Remove the dust. You will see “plaster dust” clouding the water. This is normal calcium releasing from the curing cement.
- Filter cleaning. The filter will catch this dust, so expect to clean your cartridges or backwash your DE filter after the first week.
Why this matters: If you skip brushing, the calcium dust can harden on the surface, leaving you with a rough, sandpaper-like texture that cuts feet and traps dirt.
Weeks 2-4: Continued Curing
What to Expect
Your pool finish takes about 28 days to fully cure and reach its maximum hardness.
Your Maintenance Schedule:
- Brush daily: You can reduce this to once a day.
- Check pH: Test your water chemistry every 2-3 days. The pH will continue to rise naturally as the plaster cures.
- Monitor Water Level: Keep it mid-tile to ensure skimmers work properly.
What to Avoid:
- Salt Generators: If you have a saltwater pool, do not add salt yet. Salt is abrasive and can damage the curing surface. We typically add salt after day 30.
- Wheel Cleaners: Keep the automatic vacuum out of the pool until day 28.
Normal Observations
New pool owners often worry about these common sights, but they are part of the process:
- Mottling: Slight color variations or streaks are normal characteristics of hand-troweled plaster, especially in gray or dark finishes.
- Aggregate Exposure: In pebble finishes, you might see loose pebbles in the pump basket. This is just excess material coming loose.
After 30 Days: Ready for Normal Use
Congratulations! Your pool has officially passed the critical zone.
✅ Resume Normal Schedules: Reset your pump timer to normal seasonal hours (usually 8-10 hours in summer). ✅ Install Cleaners: You can now use your suction-side or robotic pool cleaner. ✅ Add Salt: It is now safe to dump the salt bags and turn on your chlorine generator. ✅ Heat It Up: The heater is safe to use.
Timeline Summary
| Phase | Duration | Key Activities |
|---|---|---|
| Prep & Drain | 1-2 days | Drain, safety checks, permit compliance |
| Demo & Tile | 2-3 days | Chip-out (if needed), tile installation |
| Finish | 1 day | Application of Pebble/Plaster (cannot stop) |
| Fill | 1-2 days | Continuous filling (never turn off water) |
| Start-Up | 5-7 days | Brushing 2x daily, balancing pH |
| Full Cure | 28-30 days | No salt, no heaters, no wheeled cleaners |
Total active construction time: 7-10 days. Total time until “hands-off” maintenance: 30 days.
Questions?
Every backyard in the Valley has unique access issues and plumbing quirks. We tailor our approach to ensure your property is respected and the result is flawless.
Ready to start your pool resurfacing project? Contact us for a free estimate and personalized project timeline.